Today I want to talk about one of my favorite things about amigurumi. It is being able to make many different toys even with just one pattern. Even if you crochet the same pattern with different colors, you get a very different experience. Or you change the yarn and crochet hook and suddenly find yourself looking at a very different toy in a different size. Sometimes I feel like I can’t help but try a pattern in all colors. But at the same time, I want to try a new pattern. There are only 24 hours in the day, but amigurumi has endless options.
| Quick Info | |
|---|---|
| Pattern Name | Amigurumi Tiger Pattern |
| Pattern Designer | Anitha from the blog littleloveeveryday.com |
| Difficulty Level | Beginner |
| Materials Needed | Hook, Yarns suitable for your hook, 8mm or 6mm safety eyes, stuffing material, tapestry needle, black embriodery tread and needle |
| Free/Paid | Free |
| Link | A little love everyday |
It is possible to make many different toys by combining different patterns you have. When I take pieces from several patterns and combine them, I feel like Dr. Frankenstein. When I think about it like this, combining other patterns rather than designing my own pattern gives me a more epic feeling. It inspires me to write stories about them.

I don’t know if I will design my own pattern one day, but it doesn’t seem interesting to me at the moment. There are so many patterns I want to try that I feel like trying to produce a pattern myself is a waste of time. Amigurumi designers design wonderful patterns. Maybe I’ll only want to design a pattern when I want to go deeper into this hobby. Designing a new pattern is a much more creative process. However, I have always felt closer to craft than art.
I would like to move on to the pattern I will introduce today and explain what I am saying in a more articulate way. I was looking to make a different keychain and came across this wonderful tiger pattern. It truly captured my heart with its size and the cuteness of its face.
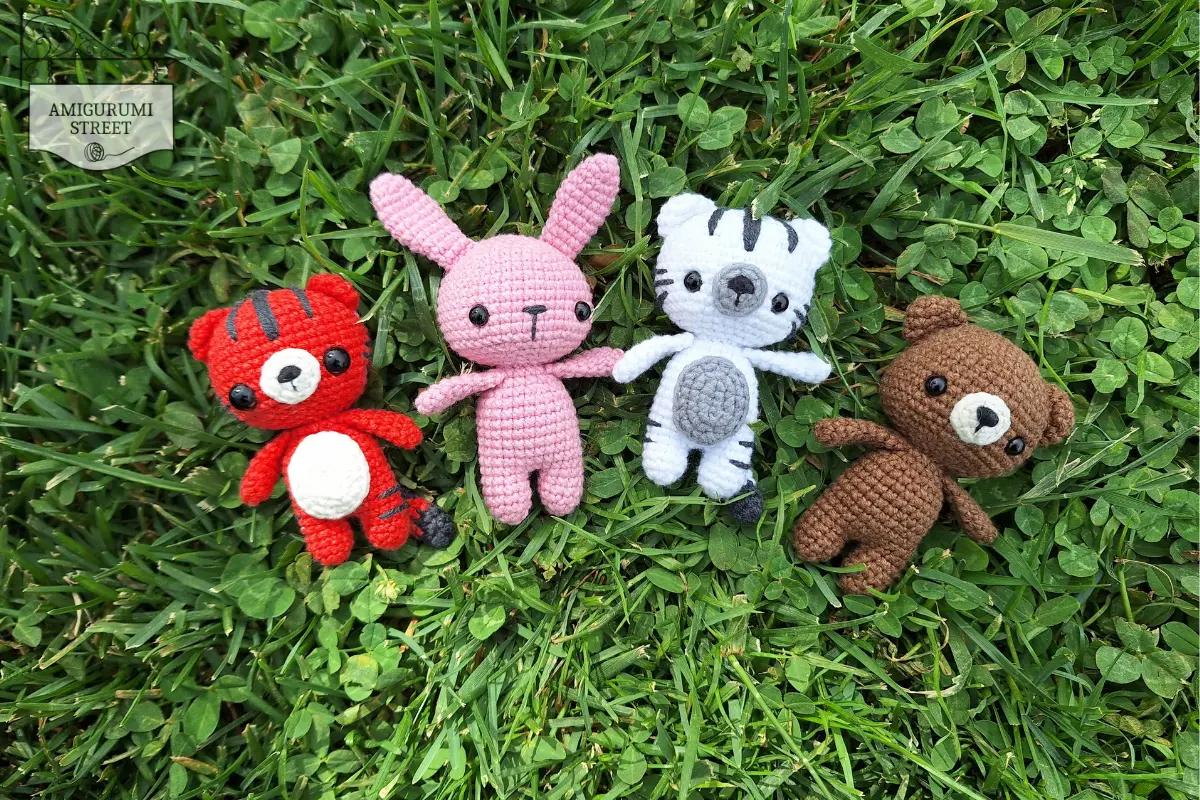
The best part about the Amigurumi tiger pattern on littleloveeveryday.com is, not surprisingly, that it is free. By the way, what a sweet name this is! The difficulty level of this extremely cute pattern is beginner. The size is perfect for a keychain. I crocheted with a 2.5mm crochet hook and a suitable yarn, I used the X stitch method, thus I obtained approximately a 9 cm keychain. I also believe that since it does not have very long parts, it is not dangerous to give it to babies and it will be a toy that they will enjoy holding in their hands. My son, who likes to play with small figures, took the keychains in his cars and he liked that there were a few different animals.
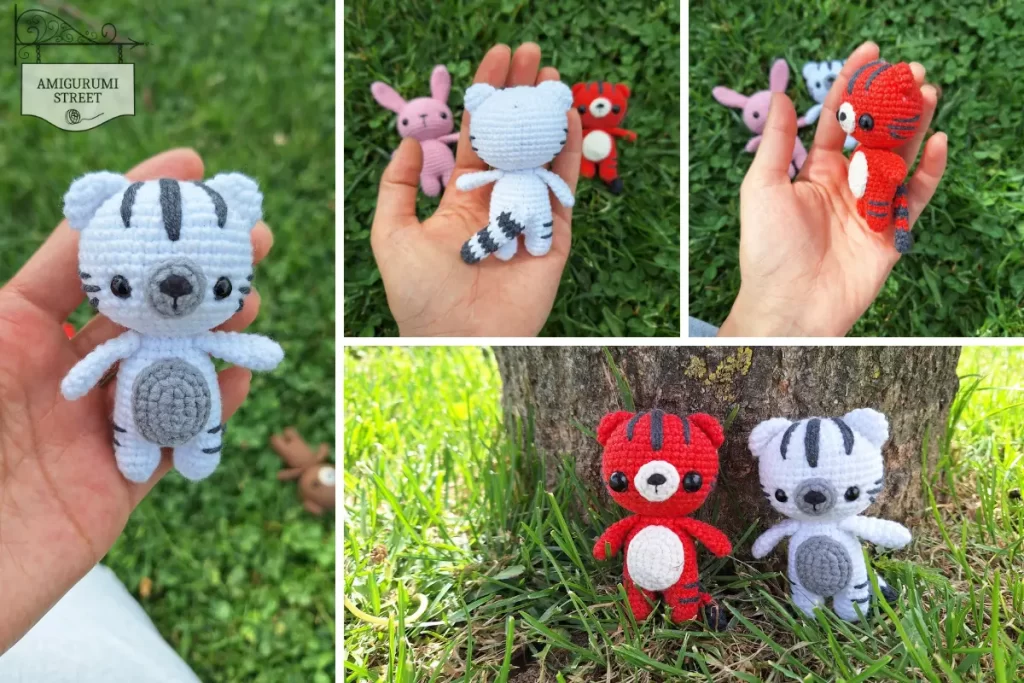
The pattern is explained pretty well, I think there could have been more photos. It would have been nice to see individual photos of the pieces and the sewing process. There could also be photos of the finished toy from different angles. Ultimately, though, I had no problem crocheting the toy. I am very pleased with the results.
I crochet this toy in about 3.5 -4 hours. Of course, this includes watching something and taking breaks many times to take care of my son. I wasn’t sure how fast I could crochet when I wasn’t doing these. I think it is a very suitable pattern when you need to prepare a small gift the day before. These cute little toys require very little filling material. All the supplies can fit into a small bag. Moreover, after crocheting a few stitches, I almost memorized the pattern. I can crochet without constantly looking at the pattern text. Since my son plays outside for long hours in the spring and the summer, patterns that I can crochet outside are very valuable to me. This pattern will accompany me a lot this summer.
On the tigers, as you’ll notice, I used two different sizes of safety eyes. 8mm and 6mm. Look at how their expressions change with different-sized eyes. I can never decide which is sweeter. The stripes of the tiger’s belly patch give this small and simple pattern a more elaborate look. In this respect, it ranks at the top among keychain patterns for me.
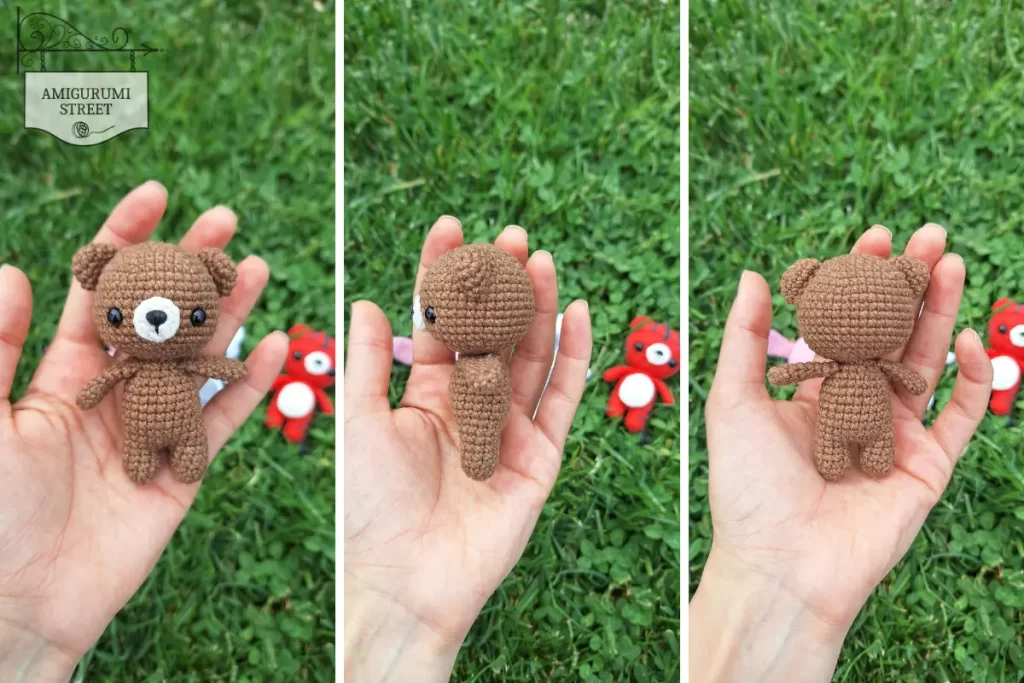
Since the cutest part of this pattern is the body, just making a tiger wasn’t enough for me. I should have seen more animals with this cute body. That’s why I decided to make this cute teddy bear first. When making the bear, I did the following, unlike the tigers: for the ears, I crocheted the ears in this free Small Tedy Bear pattern from Kristi Tullus, sewed the ears in Round 4, and attached the eyes between Rounds 12 and 13. Also, I did not crochet the tail and belly patch. I think he turned out to be a great teddy bear.
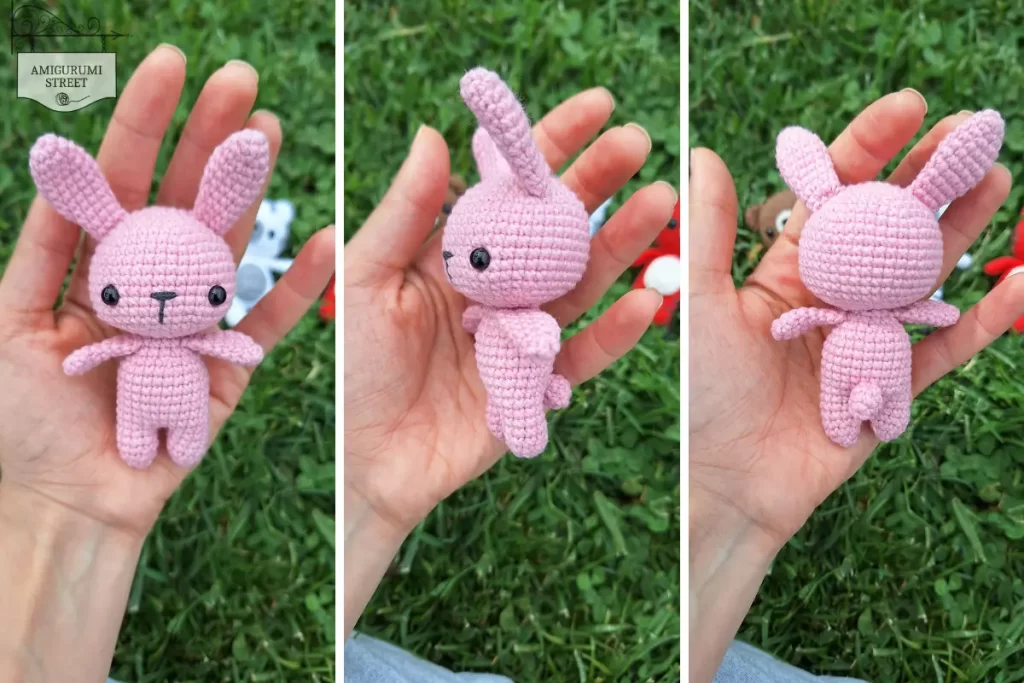
I made a different tail for the bunny. Again, I used the ears in this free Small Bunny pattern from Kristi Tullus. I did not crochet the muzzle and belly patch. I really like combining two different patterns like this. I sewed the ears around round 3. I attached the safe eyes again between the 12th and 13th rounds, there are 9 stitches between the two eyes. The bunny is also super cute.
As a result, I was able to make many different amigurumi toys by combining a few free patterns. Throughout this summer, I will crochet this pattern and many other keychain patterns to sell for the benefit of stray animals. I hope these sweet tigers, teddy bears, and bunnies would be glad that they were made for such a purpose. In the endless world of amigurumi, I find something else that excites me every time. I’m very curious about what amigurumi means to you. I hope you loved the pattern I introduced today as much as I did. I would be very pleased if you share your experiences and comments with me. With love.

